Table of Contents
When it comes to kayaks, accessories are a must. Whether it’s your DIY kayak rack or ways to mount a trolling motor on a kayak, a kayak enthusiast must know all. Now, how do you actually mount the motor? Leave all your questions to us. As we embark on this journey, we are going to learn all about trolling motors. Moreover, all the ifs and buts are going to be answered. So, let’s dive into it and explore more.
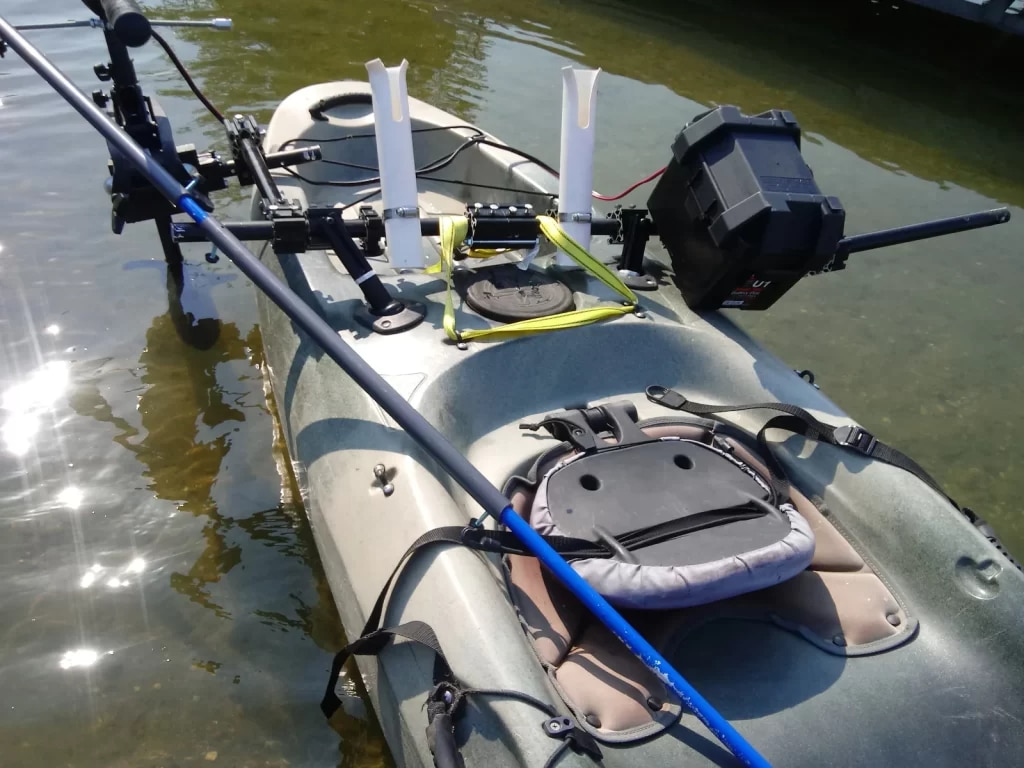
Mount Trolling Motor on Kayak
The angling experience is completely changed when a trolling motor is installed on a kayak, especially for kayak anglers who value efficiency and simplicity of use. Anglers may quickly and silently navigate across waters by attaching a trolling motor, like a MotorGuide Xi3 or a Minn Kota, to the bow of their kayak. This allows them to get to their favorite fishing spots more quickly. The setup facilitates accurate control and adaptability, particularly in demanding circumstances.
With the support of a lithium battery (ideally a deep cycle model for continuous operation), the trolling motor guarantees more extended fishing periods without sacrificing efficiency. Anglers may add convenience to their fishing trips by quickly attaching or detaching the trolling motor when needed, thanks to alternatives like quick-release mechanisms. The trolling motor system installed in the kayak’s bow improves mobility and increases accessibility to kayak fishing for those who want a smooth and pleasurable angling experience. This includes people with impairments who may enjoy a motorized kayak’s freedom.
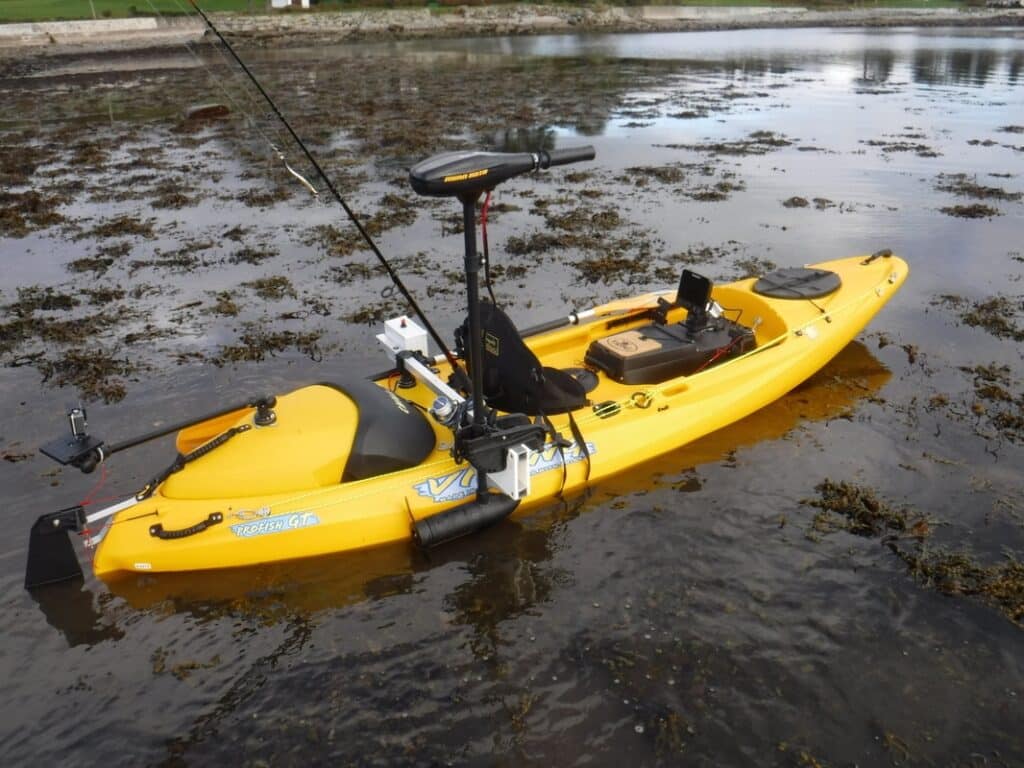
How to Mount a Trolling Motor on Kayak
Thorough preparation and thought are necessary when mounting a trolling motor on a kayak to guarantee balance and the best performance. It is important to test the location of the engine and battery before drilling any holes to mount. To do this, add weight to the kayak’s bow and stern equivalent to the motor’s weight to see how it affects balance. While the head unit could assist while fishing, placing the motor in the stern may be better if its primary purpose is to propel the boat to the fishing area. To put the trolling motor, look for flat spots or mounting locations on the kayak, ensuring the installation has enough support. Furthermore, putting the battery closest to the seat promotes a balanced weight distribution, enhancing overall water stability.
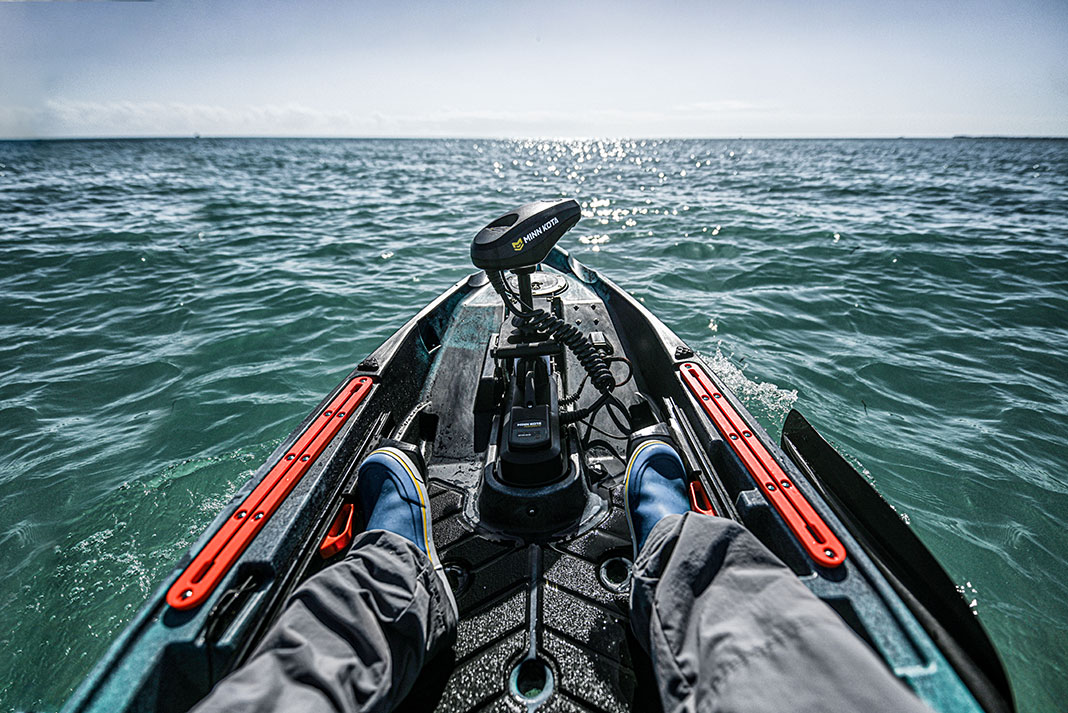
Installing a Trolling Motor on a Kayak
Adding a trolling motor can substantially improve a kayak’s ability to fish and navigate through various water conditions.
Choosing the Correct Trolling Motor
When selecting a trolling motor, consider your kayak’s weight and size capacity. For simpler installation and use, choose a model with a tiller control and transom clamp.
Select a Mounting Location
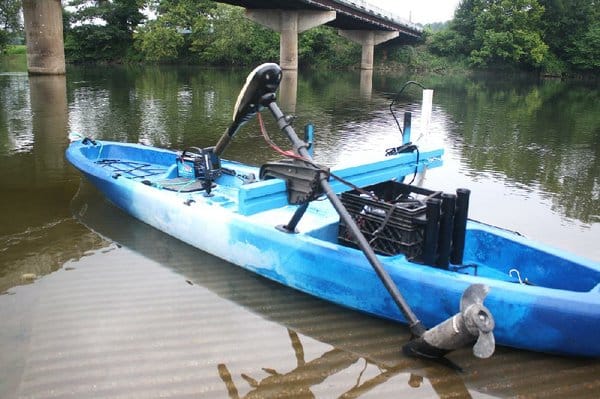
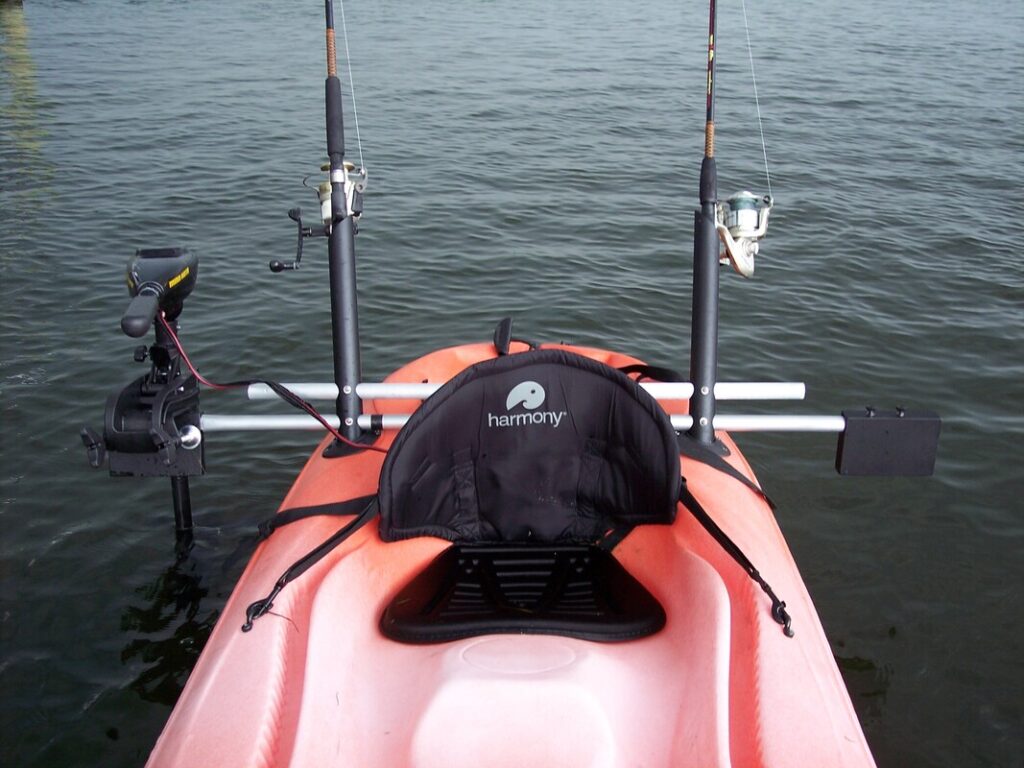
Choose the location on your kayak where the trolling motor should be installed. Many fishermen prefer mounting it on the stern because it improves balance and mobility.
Get a Mounting Bracket
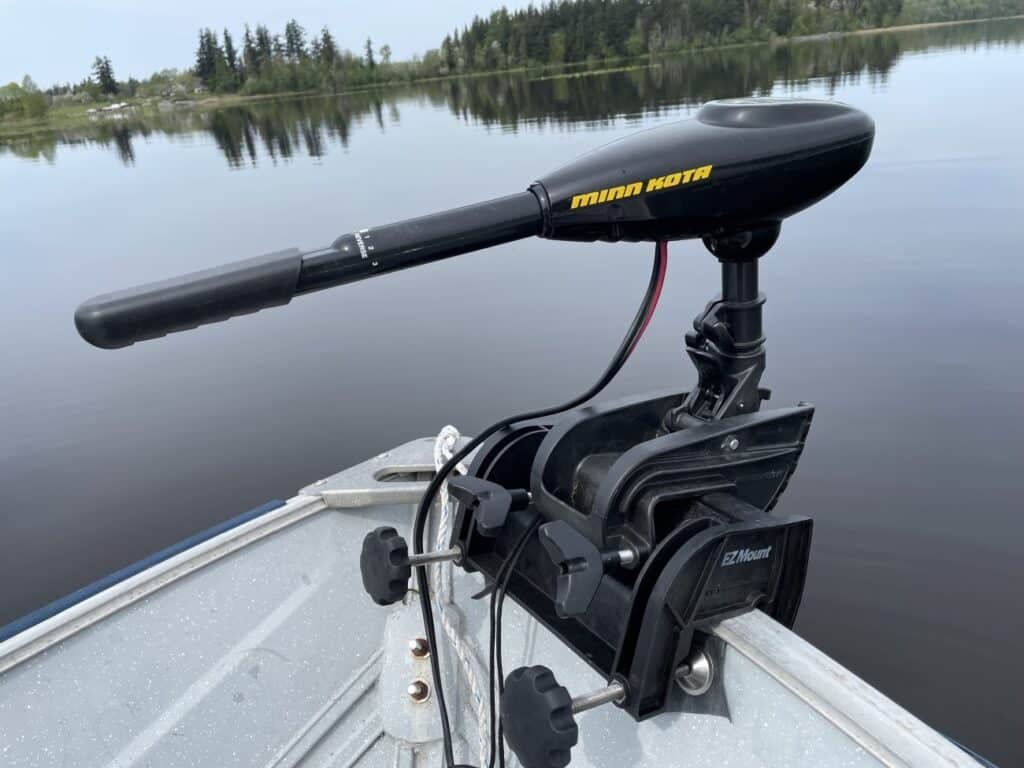
Invest in a mounting bracket made especially for kayak trolling motors. These brackets are available in various designs and styles to suit various kayak types.
Install the Mounting Bracket
Using the directions on the bracket, firmly fasten it to your kayak. This usually means attaching the bracket straight to the kayak’s stern or the gunnels.
Installing the Trolling Motor
Follow the manufacturer’s instructions to slide the trolling motor onto the mounting bracket. Ensure it is firmly fastened and in the right place for best results.
Link the Power Source
If your trolling motor needs an additional battery, follow the manufacturer’s instructions and install it. Verify that the battery is connected to the motor and fixed firmly.

Test the Motor
Test the trolling motor before getting out on the water to ensure it is operating correctly. Then, examine the direction and speed controls to familiarize yourself with how they work.
Change as Necessary
After testing the trolling motor, change the mounting bracket or motor position for proper performance and balance.
Tighten Loose Cables
Fasten loose wires or cables with zip ties or Velcro straps to prevent them from becoming tangled or affecting the trolling motor’s performance.
Have Fun with Your Improved Kayak
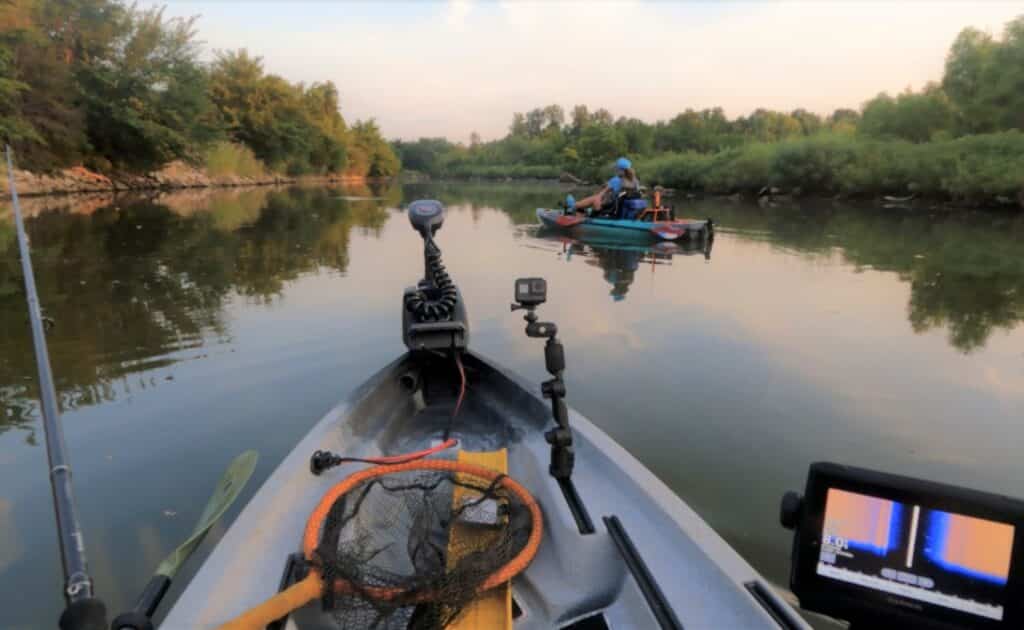
Now that the trolling motor has been fitted, you can take advantage of your kayak’s increased fishing and navigating capabilities.
For a more efficient and pleasurable on-the-water experience, install a trolling motor on your kayak easily by following these instructions and using specially designed mounting brackets.
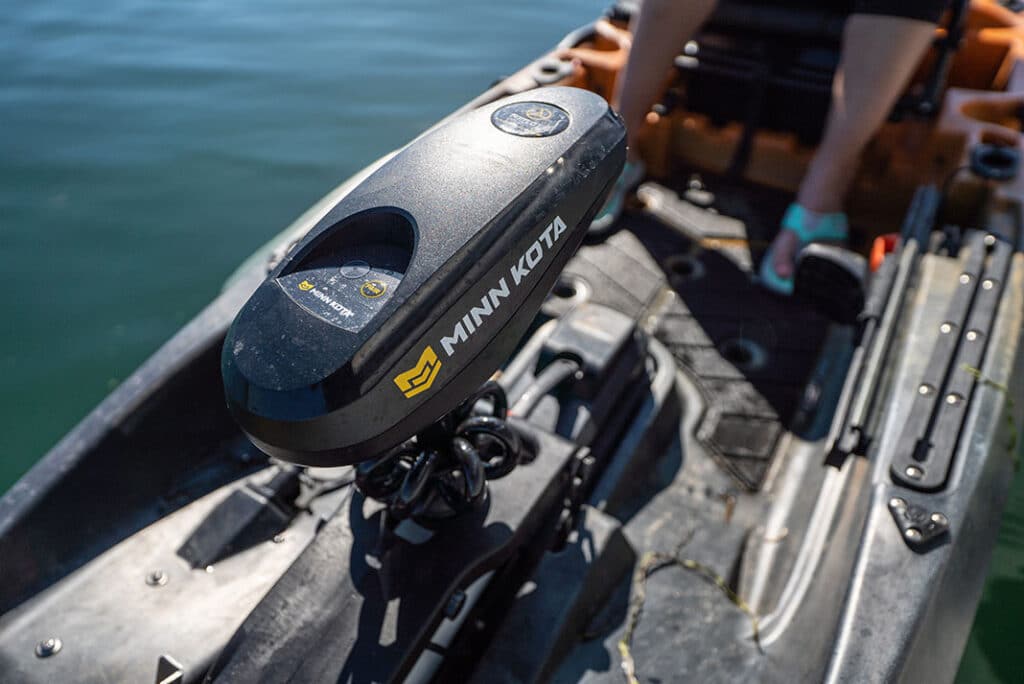
Bow Mount Trolling Motor on Kayak
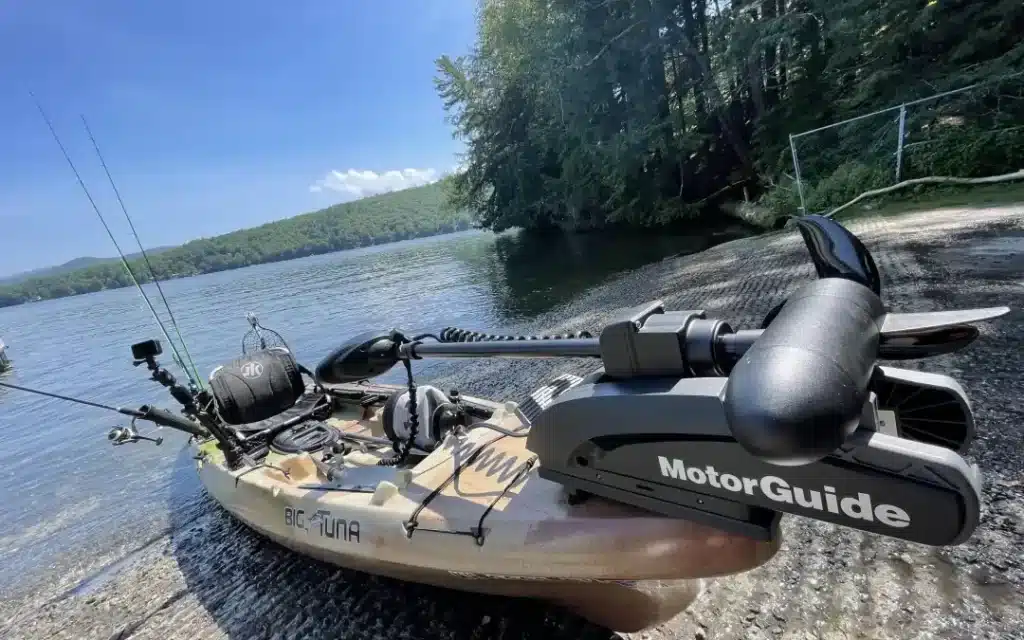
A bow-mounted motor setup for a kayak isn’t a very difficult job. A Kayak with a trolling motor on the bow can make fishing much more enjoyable. There are many options for installing attachments for a trolling motor, especially for the bow of a kayak. The possibilities are endless, whether you fully automate track and speed with a fish finder, enjoy a basic remote-controlled option after a day of paddling, or integrate it with an existing stern-mounted motor. It reminds me of how simple and effective bass boats with several screens and foot pedal-operated motors are. Thanks to these developments, kayak fishing excursions should have similar ease and sophistication.
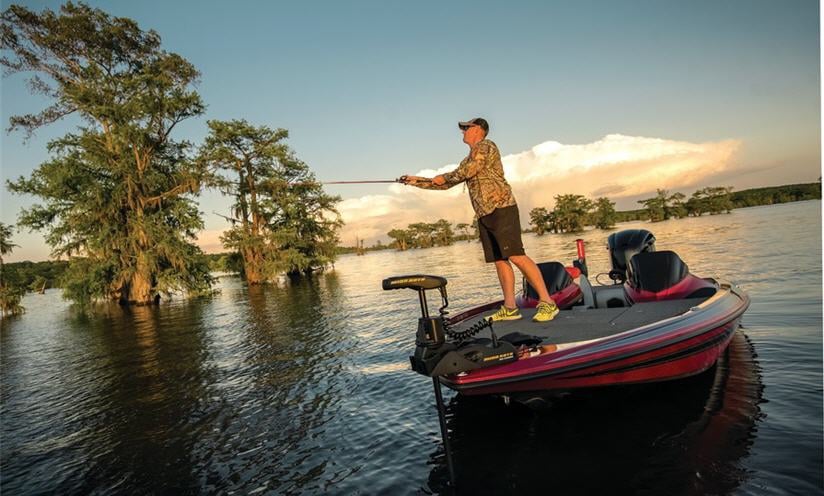
How to Choose Trolling Motor on a Kayak: A Guide
Your kayak fishing experience can be substantially improved by installing a trolling motor, which offers efficiency and mobility.
1. Determine the Required Force
Since kayaks are lighter than other boats, a trolling motor with 30 to 40 pounds of force should be plenty for moderate daytime speeds.
Although higher thrust motors are available, remember that they could drain your battery more.
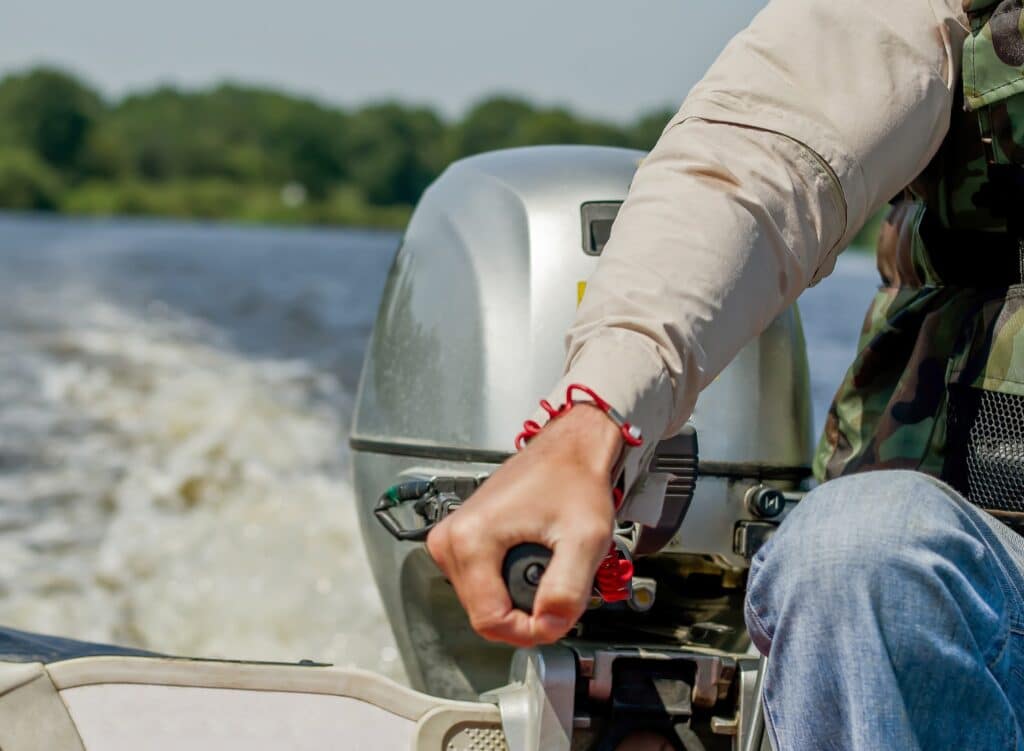
2. Take Shaft Length Into Account
Choose a trolling motor with a short shaft, usually 24 to 30 inches, to ensure it reaches the water without adding weight to your kayak or raising the draft.
3. Select the Mounting Location
Decide where to place the trolling motor on your kayak: at the bow or the stern. While both locations offer benefits, a bow-mounted trolling motor offers superior control and flexibility.
4. Choose the Battery
Lithium batteries are a good option because of their lightweight design and extended lifespan. Ensure the battery has enough capacity to run your trolling motor for the time you plan to use it.
5. Examine Your Motor Options
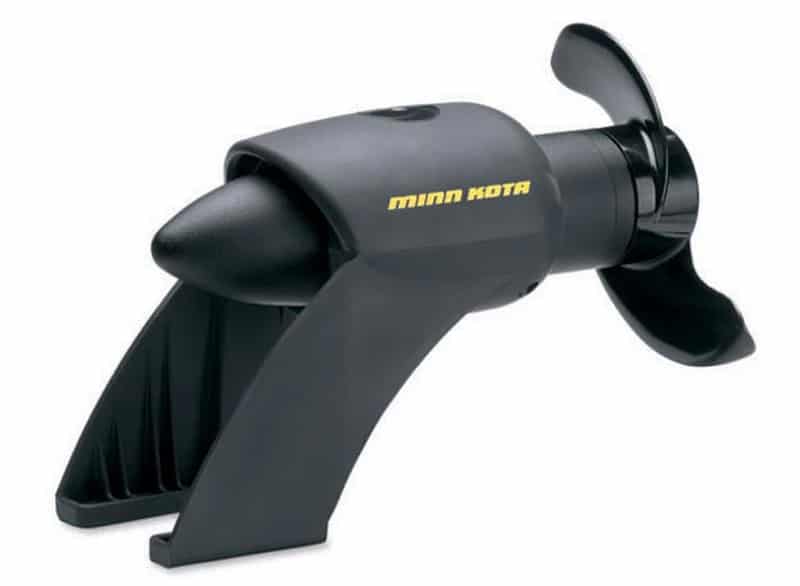
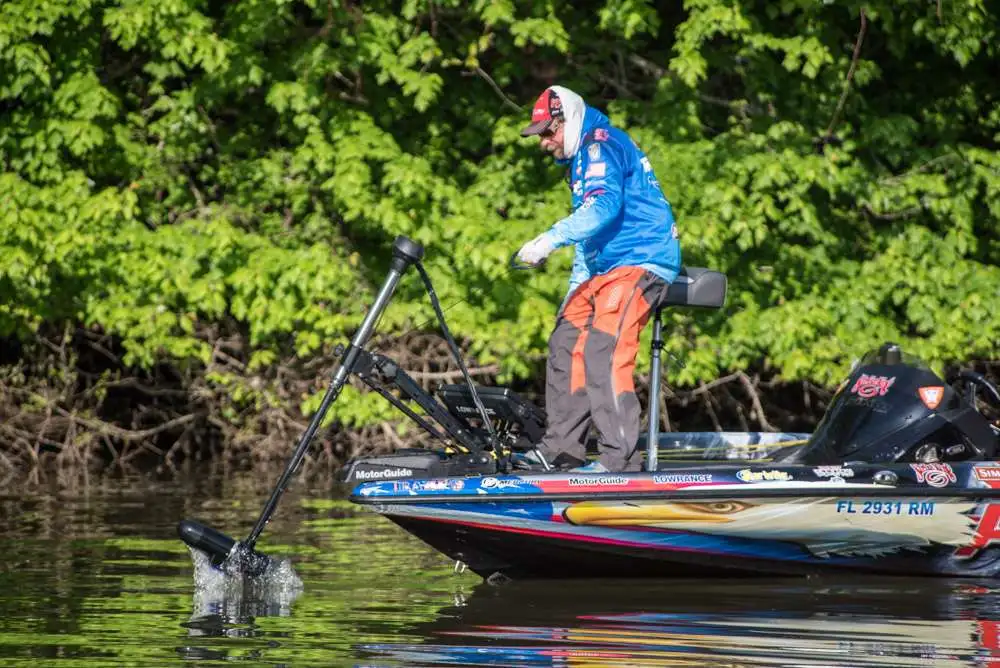
Look at various trolling motor types, such as the Minn Kota or a Motorguide Xi3, for features like easy release mechanisms, foot pedal control, and compatibility with kayak mounting methods.
6. Install Required Accessories
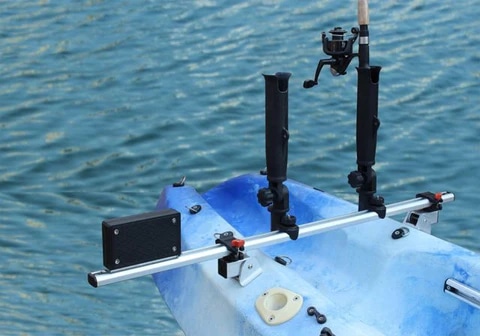
Invest in mounting plates, brackets, and hardware made especially for kayak trolling motor configurations to ensure a safe installation without damaging your kayak.
7. Verify Compatibility
Ensure the trolling motor you select can be fitted safely on your kayak model and won’t interfere with your fishing or paddling activities.
8. Test Before Buying
If purchasing a secondhand trolling motor, visually check for damage or corrosion. Connect the motor to a battery to check its operation and ensure all controls work.
9. Think About Repair and Maintenance
Remember that even if your trolling motor has problems, you can fix many of its parts and get professional help from nearby service shops and centers.
10. Safety First
Always prioritize safety when using electric trolling motors in your kayak. Install, operate, and maintain the equipment according to the manufacturer’s instructions to avoid mishaps and increase lifespan.
These instructions will help you select and install a trolling motor arrangement that best meets your fishing and kayaking requirements, improving your on-water experience.
Mounting a Trolling Motor on a Kayak: Final Thoughts
In conclusion, adding a trolling motor to your kayak can considerably improve your fishing by offering efficiency and ease while on the lake. In this article, we’ve covered a lot of ground: how to select the best trolling motor for your kayak; several mounting configurations, like bow and stern mounted; and necessary extras, like lithium batteries and quick-release mechanisms. Whether you choose a MotorGuide or a Minn Kota, you can maximize your control over the motor by using hand or foot controls and ensuring the installation is secure with a mounting plate. We also discussed other factors, such as the kind of kayak, a fishing kayak model like the Frontier 12, or a general-purpose kayak, and the significance of deep cycle batteries for longer use.
Finally, by following installation instructions and adding appropriate parts, you can make your kayak’s front end smooth and mobile and turn it into a multipurpose fishing craft. Enjoy all your amazing kayaking experiences. Moreover, always make it a fun filled experience.
