Table of Contents
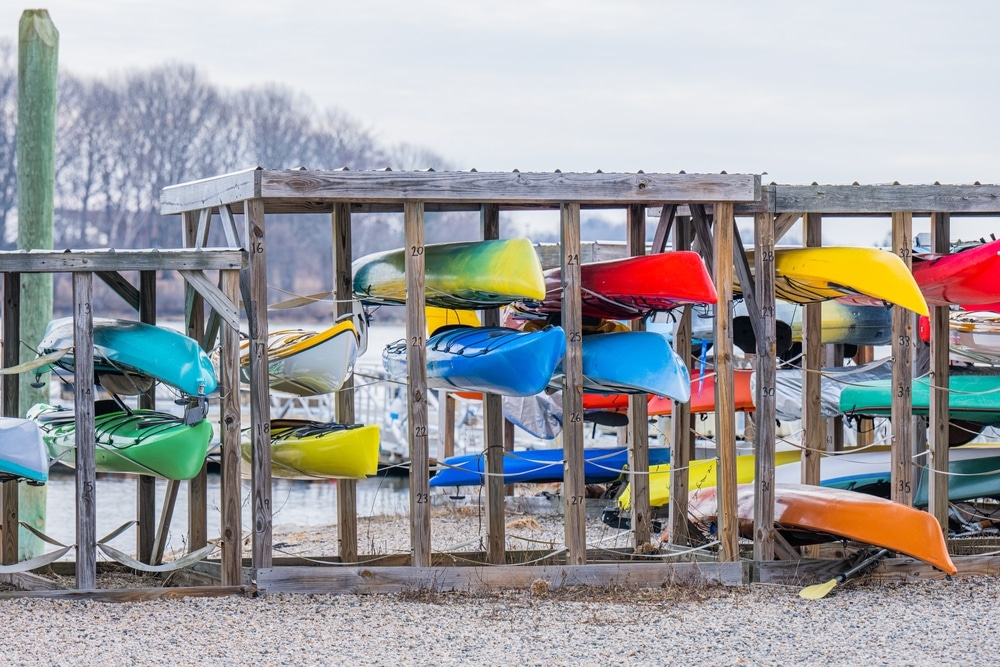
Hello to all our kayaking enthusiasts! Going for kayaking in the ocean? WAIT, are you storing your kayaks properly? Buying inflatable kayaks and enjoying your kayak journey are all fun and games. However, what’s most important is to store these kayaks in the right way. To do that, you need to build a DIY kayak rack. Now you must be thinking, why build a kayak rack when you can just easily go and buy it? A self-made kayak rack is way more efficient and durable; hence, it’s always a good choice. From DIY kayak racks for trucks to DIY kayak roof racks, we will explore all the necessary guidelines for kayak storage in all forms. First, let us see why we feel the need to build a kayak rack. So, let’s dive into out kayak storing adventures!
Why Build a DIY Kayaking Rack?
You must be thinking why we must build a kayak at home. Right? To answer this, one useful way to address the storage issues of owning these treasured kayaks is to build a DIY kayak rack. There are several designs and supplies to consider when storing your kayak, whether in your truck, shed, or garage. Building a robust DIY wood kayak rack plan can be a satisfying undertaking if you have a good hand with wood. You may easily get plans online for making your wooden kayak racks, which include comprehensive dimensions and building instructions to guarantee a good finish.
- Alternatively, a homemade PVC kayak rack would be the best choice if you’d like something more portable and lightweight.
- PVC pipe is a great material for creating a custom rack that meets your demands because it’s inexpensive and simple.
- Planning and constructing your kayak storage solution, whether for your truck bed, kayak rack for trailer, or garage, will save you money and enable you to tailor it to your needs and tastes.
Choosing the Perfect Place for Storing Your Kayak
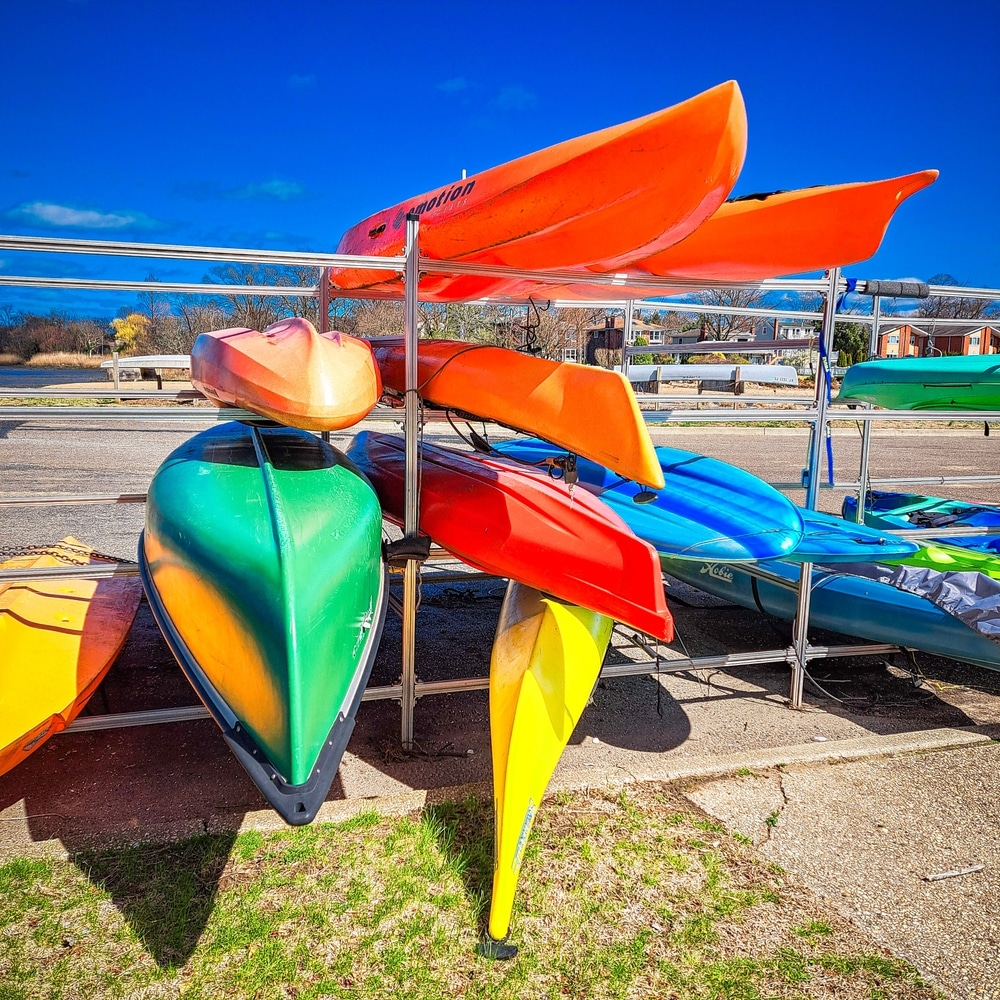
When deciding where to store your kayak, consider elements like protection from the elements, accessibility, and weather exposure. Outdoor setups are popular for easy access, but weather-resistant materials are needed. Interior spaces, like sheds or garages, offer weather protection. Make sure the location is accessible and level for easy loading and unloading. Prioritize ease and security by carefully weighing the benefits and drawbacks of each location.
How to Initiate the Diy Kayak Rack Process
Examine your blueprints thoroughly and assemble all the supplies and equipment before building the DIY kayak rack. Accurately trim materials to the required measurements, being mindful of where to position the hold arms for balanced weight distribution. Before fastening or nailing parts, carefully assemble the frame, ensuring everything is aligned precisely. Any metal brackets should be firmly fastened for extra stability. If the rack is going to be outside, apply protective coatings. Recall that patience and attention to detail are essential for a kayak rack to be dependable and long-lasting. If you start the process with careful planning and execution, you will have a sturdy rack that will hold your kayak for many years.
Step-by-Step Guide on Diy Kayak Storage Rack
Whatever DIY you are creating at home, the first thing you need is the materials. Let us take a look a the materials and tools first.
Materials Required
- Dimensional lumber, two by 4 (8 feet long) – Two units
- Dimensional lumber, two by 6 (8 feet long) – One unit
- 3-inch deck fasteners
- 8-foot-long 4×4 post – One piece of all-purpose or wood glue
- Pool noodles, yoga mats, or other cushions
Tools
- Drill bit: 1/8-inch
- Impact driver or drill
- Miter observed
- Speed square with a pencil
- Measurement tape
- A utility knife
Step 1: Split the Posts
The first step is to split the wooden posts.
- Split the 4 × 4 posts in two.
- Cut two 32-inch pieces (for bottom racks) and two 7-1/2-inch pieces (for bottom rack feet) from the 2×6 lumber, mitered at one end at a 22.5-degree angle.
- To make the top racks, cut the 2×4 timber into four pieces measuring 18 inches each, mitered at 22.5 degrees on both ends for upright feet, and two pieces measuring 20 inches each, mitered at 45 degrees on both ends for cross braces.
Step 2: Put the Uprights Together
Next, you need to put it all together to shape things.
- Using deck screws, affix two 18-inch 2×4 feet on either side of the upright 4×4 post.
- Repeat on the other side of the post after flipping it over.
- For the other post, follow the same procedure.
Step 3: Fasten Lower Shelves
The next step is to fasten the fasten the shelves for the rack.
- With the 2×4 feet facing outward, place the 4×4 posts side by side and stand them upright.
- Using deck screws, fasten a single 2×6 rack that is balanced on both 2×4 feet to the exterior of each post.
Step 4: Add Top Racks
Then, you need to add some top racks.
- Measure and mark the posts 20–24 inches above the bottom racks so that the top racks can be placed.
- Using deck screws, fasten the 2x4s to the posts on the outside at a 90-degree angle.
- Underneath the racks, fasten the cross braces, and screw them to the post sides.
Step 5: Include Kayaks and Padding
The next step you gotta do is to add kayaks and paddles to your home made rack.
- With a yoga mat or pool noodle, cut the padding into pieces that will fit on the racks.
- To prevent scratching the kayaks, glue the cushion onto the rack arms.
- For a 10-foot kayak, place the racks about five feet apart; for larger kayaks, alter the distance as necessary.
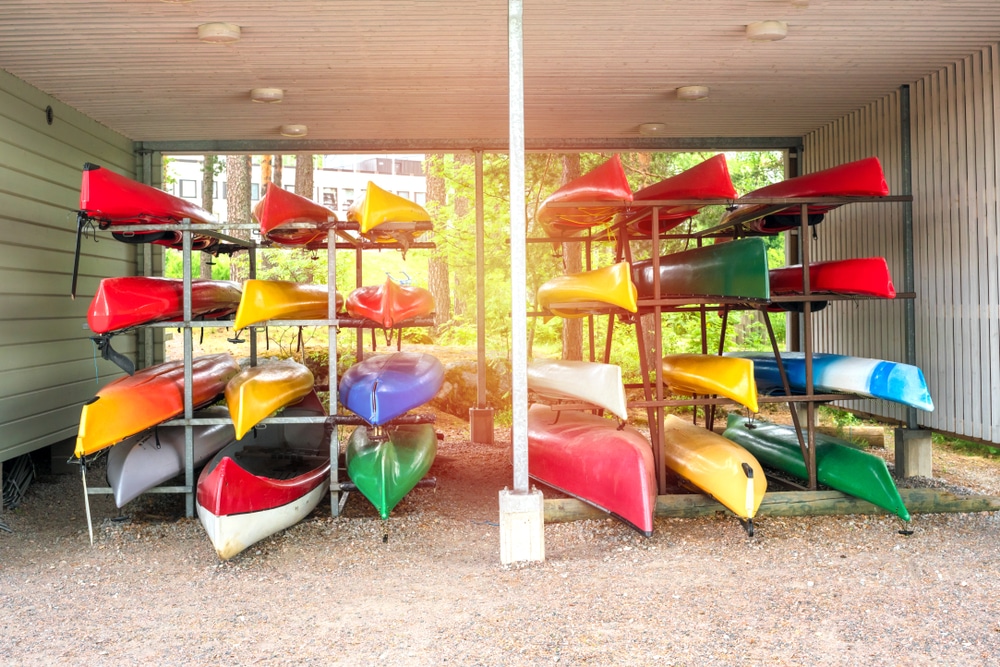
- Kayaks should be stored deck-side down to avoid rain, snow, and debris building up in the cockpit.
Step 6: Concluding Elements
Finally, make sure to finish off things well.
- Make sure the racks are stable, and all the screws are tight.
- If the rack is in two pieces, you can optionally add crossbars to the back for additional stability.
- Take pleasure in your newly constructed diy vertical kayak rack.
Total Cost
Although the price of the materials may vary based on supplier and region, dimensional lumber and deck screws are usually inexpensive items needed for this do-it-yourself project.
- The overall cost, estimated conservatively, should be less than $100.
- This easy-to-make kayak storage rack lets you keep your kayaks off the ground and out of the way with a practical and reliable solution.
- Its modular design makes it simple to modify to fit various kayak sizes or storage areas, which makes it a useful addition to the equipment of any outdoor lover, Make sure you don’t miss out on your kayak fishing.
Final Thoughts
Wrapping up, building your DIY kayak rack demonstrates your DIY prowess and enthusiasm for kayaking, not to mention a fun weekend project. Building a kayak rack is a great way to upgrade your storage options, whether you’re an experienced kayaker or just starting. This way, you can ensure your kayak is always secure, safe, and prepared for your next excursion.
In conclusion, countless options include DIY truck racks, wall-mounted designs, and free-standing models. With careful planning and attention to detail, you can build a strong and dependable storage solution to safeguard your kayak and improve your paddling experience. Now, grab your supplies, wear your work gloves, and build your ideal home for your kayak. Hence, build your own diy kayak rack.
HERE’S TO A MUCH ORGANIZED KAYAKING FUN!
