Table of Contents
Storing your kayak properly is important if you want to keep its form and condition over time. The lifespan of your kayak can be greatly shortened by improper storage, which can cause warping, dents, and other issues. Knowing the basics can help you make choices regarding storage, whether indoor or outdoor. This article will take you through several ways to store and hang your kayak in garage, how to install it, and other helpful hints so that it stays in great shape for many years to come.
Before going to the ideas to hang a kayak in garage lets have a quick view and explore Essential Guide of How to Transport a Kayak Safely and Securely
Different Storage Solution Types
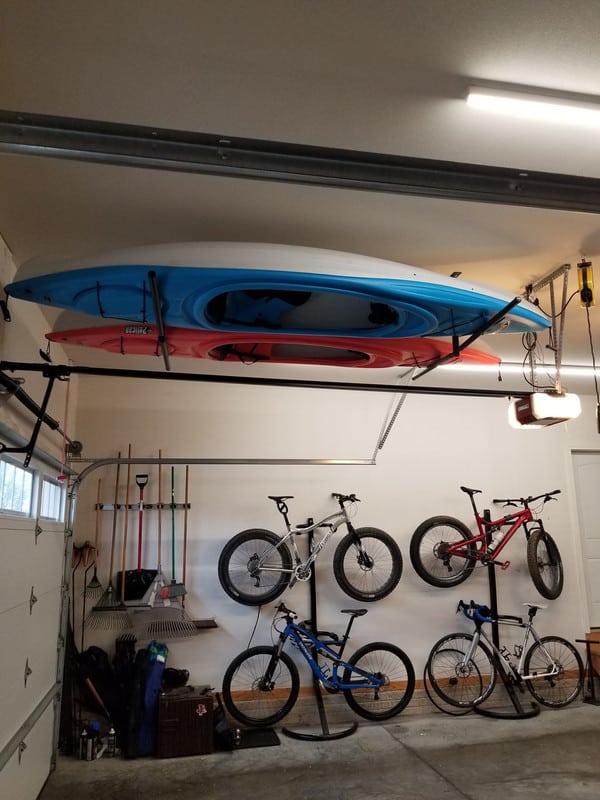
You can store and hang your kayak in the garage using wall mounts, ceiling hoists, and kayak storage racks, among other options. Every technique protects your kayak and maximizes your storage space.
Mounts for Walls
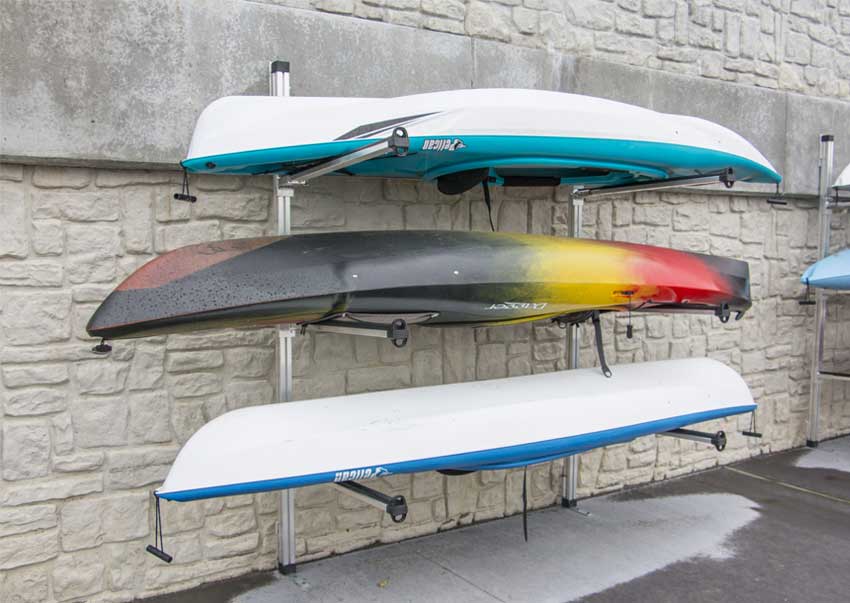
Wall mounts are a common choice for kayak to hang in garage. They open up floor space for additional uses by keeping your boat off the ground and securely leaning against the wall. Ensure the mounts are securely fastened into the wall studs to hold the kayak’s weight.
Installing Wall Mounts in Steps:
Pick the Correct Wall: Pick a wall that is clear of obstacles and large enough to fit your kayak’s length.
Discover the Studs: Use a stud finder to locate the wall studs where the mounts will be attached.
Put the Mounts in Place: Use strong screws to fasten the wall mounts into the studs.
Place the Kayak: After raising it, ensure it is balanced evenly before putting it on the mounts.
Wall mounts are useful because they are easy and effective. However, they need to be installed carefully to guarantee your kayak’s stability and safety. Well-installed wall mounts can also achieve an orderly and tidy appearance for your storage space.
Ceiling hoists
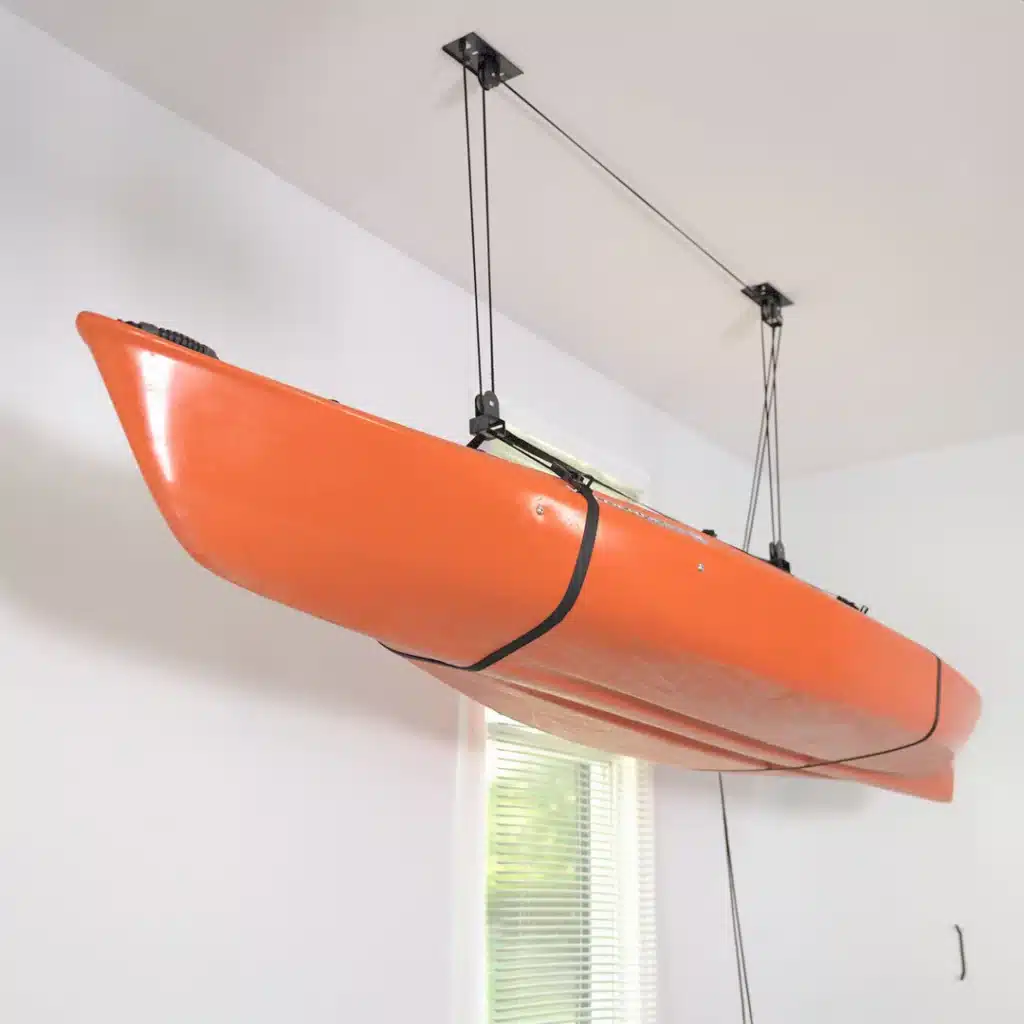
If your garage has limited wall space, a ceiling hoist is a great way to maximize storage capacity. Using this technique, the kayak hang from the ceiling of garage and is kept entirely out of the way.
Installing a Ceiling Hoist in Steps
Decide on the Location: Find a place on the ceiling where the kayak may hang loosely without colliding with anything.
Put the pulleys in place: Strong bolts or screws should be used to secure the pulleys to the ceiling beams.
Take Off the Ropes: Attach the ropes to the kayak by passing them through the pulleys.
Hoist the Kayak: To secure the kayak in place, raise it to the ceiling using the hoist mechanism.
In addition to being useful for storing other goods like bicycles or ladders, ceiling hoists are perfect for garages with high ceilings. The primary benefit is the effective utilization of overhead space, freeing up the floor for extra tasks or storage requirements. Keeping the kayak safely out of reach and securely suspended also increases safety by lowering the possibility of unintentional damage.
Racks for Storing Kayaks
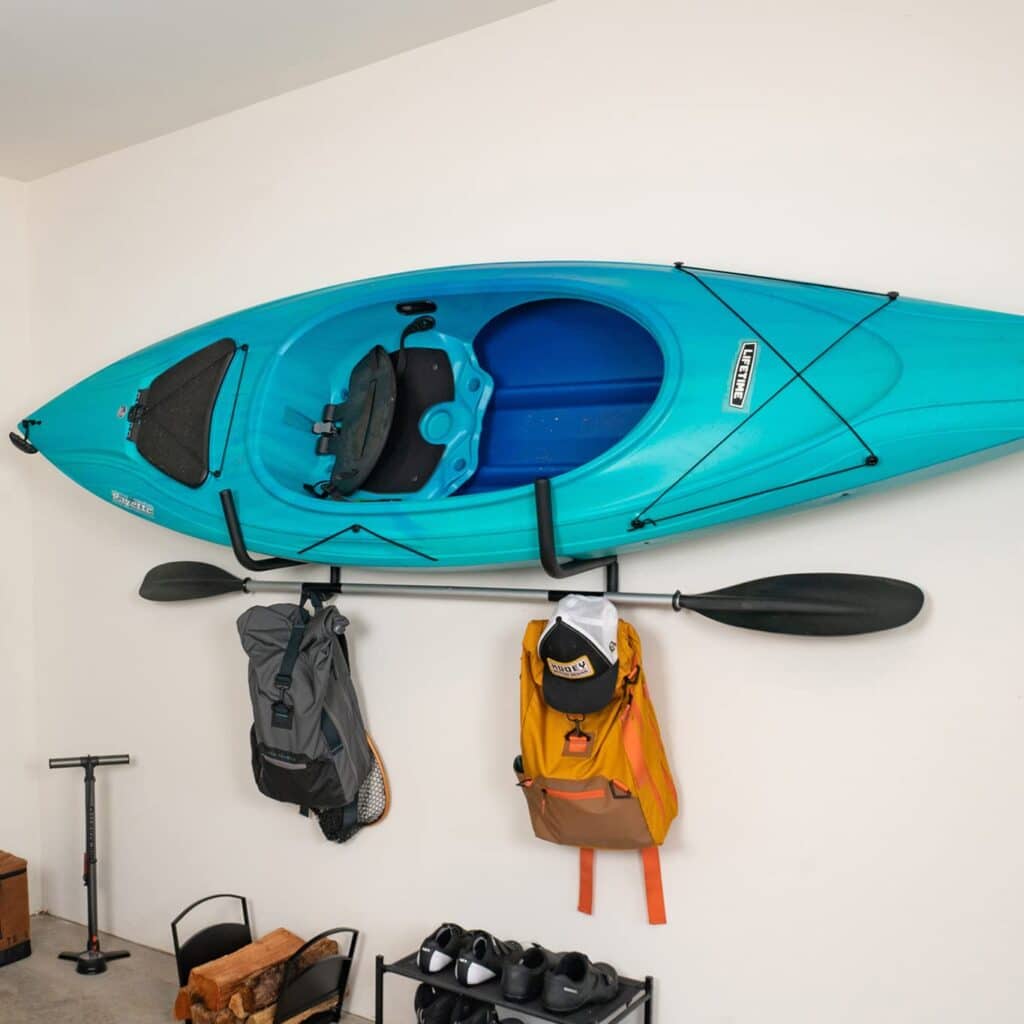
Kayak storage racks are available in various styles and can be wall-mounted or freestanding. They are adaptable and space-saving because they can accommodate several kayaks and additional equipment like paddle boards.
How to Use Storage Racks for Kayaks:
construct the Rack: To build the storage rack, adhere to the manufacturer’s instructions.
Place the Rack in Place: Organize the rack in your garage to be easily accessible.
Fill the kayak: Make sure it is sturdy and safe before carefully positioning it on the rack.
Storage racks are especially helpful for homes with several kayaks or other water recreation gear. They are a one-stop shop for all your storage needs because they frequently include extra hooks or shelves for storing accessories. These racks are so adaptable that you may use them outside your garage, in sheds, and other outdoor spaces.
Advice for Extended Storage
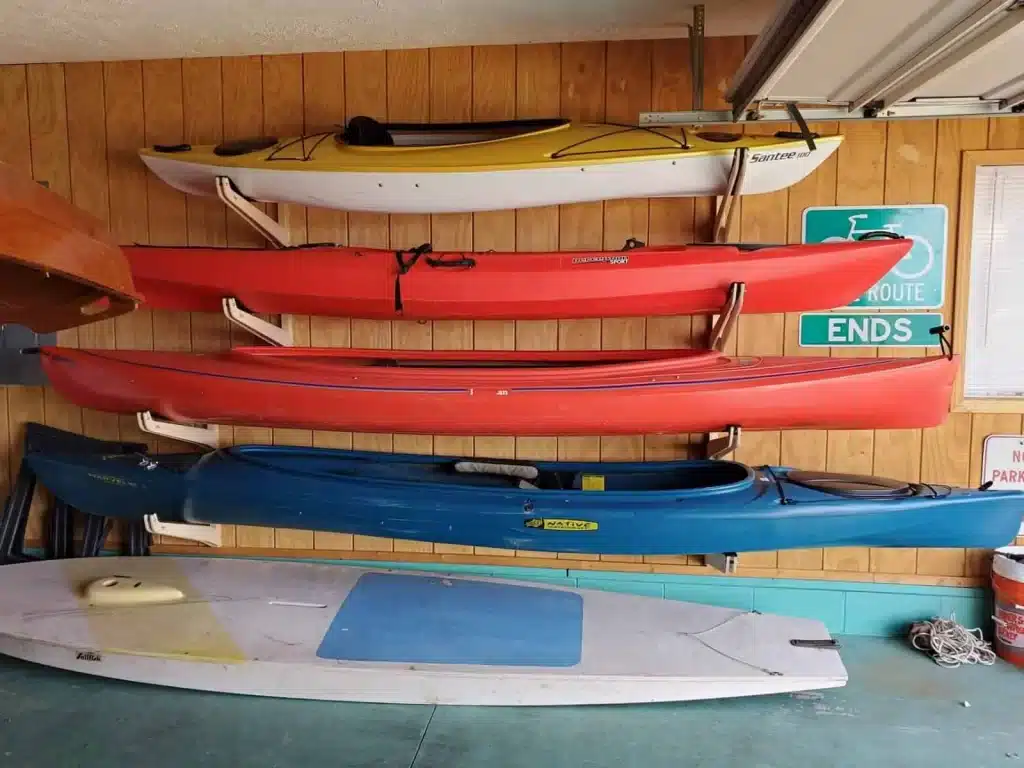
When storing your kayak for extended periods of time, it is imperative that you take extra precautions to safeguard it.
Clean the Kayak: Clean your kayak thoroughly before storing it. Give it a thorough cleaning to remove debris, salt, or grime that could deteriorate the material. Use water and gentle soap to prevent potential damage from harsh chemicals.
Cover the Kayak: Use a cover to keep your kayak safe from dust and insects. Additionally, covers shield the material from UV radiation, which might deteriorate it over time. To avoid moisture buildup, make sure the cover fits properly and is composed of breathable material.
Examine the Storage Environment: To avoid mold and mildew, ensure the storage space is dry and well-ventilated. Damp environments can result in unpleasant scents and material deterioration. In enclosed areas, using a dehumidifier can help keep the environment at its best.
Extra Storage Advice
Here are some more pointers to help you effectively and properly store your kayak:
Stay out of Direct sunlight: The kayak material may deteriorate with extended exposure to the sun. When storing outside, cover with something UV-resistant. Keep the kayak away from windows where direct sunlight may enter, even when stored indoors.
Weight Distribution: To avoid warping, ensure your kayak’s weight is distributed equally while hanging or positioning it. An uneven distribution of weight may result in permanent deformation. Use supports to distribute the weight throughout the kayak’s whole surface area.
Use Padded Supports: Padded supports help shield wall mounts and racks from dents and scratches. Ensure the kayak’s surface is shielded at all contact places with cushions. Periodically inspect these pads for wear and replace them as needed.
Keeping Kayaks with Other Equipment: If you also have paddle boards or other water sports equipment, consider integrated storage options that can hold all of it. Kayak racks are flexible choices for extensive indoor storage because many include extra hooks or shelves for storing accessories.
Considerations for Outdoor Storage
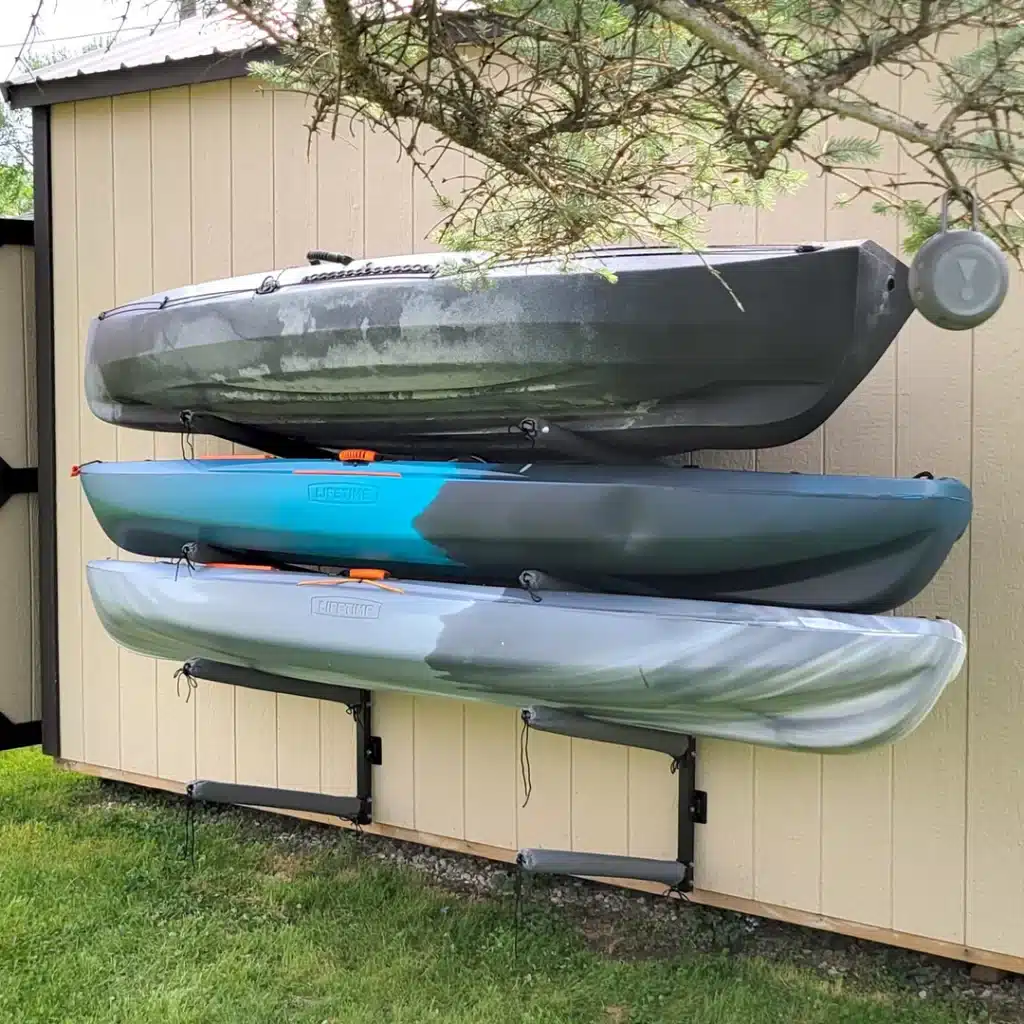
You may need to store goods outside if you need more room indoors. It is necessary to take extra care when storing your kayak outside to shield it from the weather.
Use a Strong Cover: To protect your kayak from rain, snow, and UV rays, spend money on a high-quality, waterproof cover. Additionally, a decent cover will keep bugs and dust out. Look for ones with straps or tie-downs to ensure the covering stays put in windy circumstances.
Raised Platform or Storage Rack: To keep the kayak off the ground, use a raised surface or a storage rack. This keeps pests away and lowers the possibility of moisture damage. Make sure that the rack or platform is sturdy and weatherproof.
Secure the Kayak: Ensure your kayak is attached securely to avoid having high winds blow it away or damage it. To secure it, use straps or bungee cords. Check frequently to make sure things are still snug and secure.
Check Frequently: Look for wear or damage on your kayak and cover it occasionally. By doing routine inspections, you may solve problems before they seriously harm your property. Also, keep an eye out for any indications of pests or mold that may have made their way into the storage area.
Unique Storage Options to hang a kayak in garage
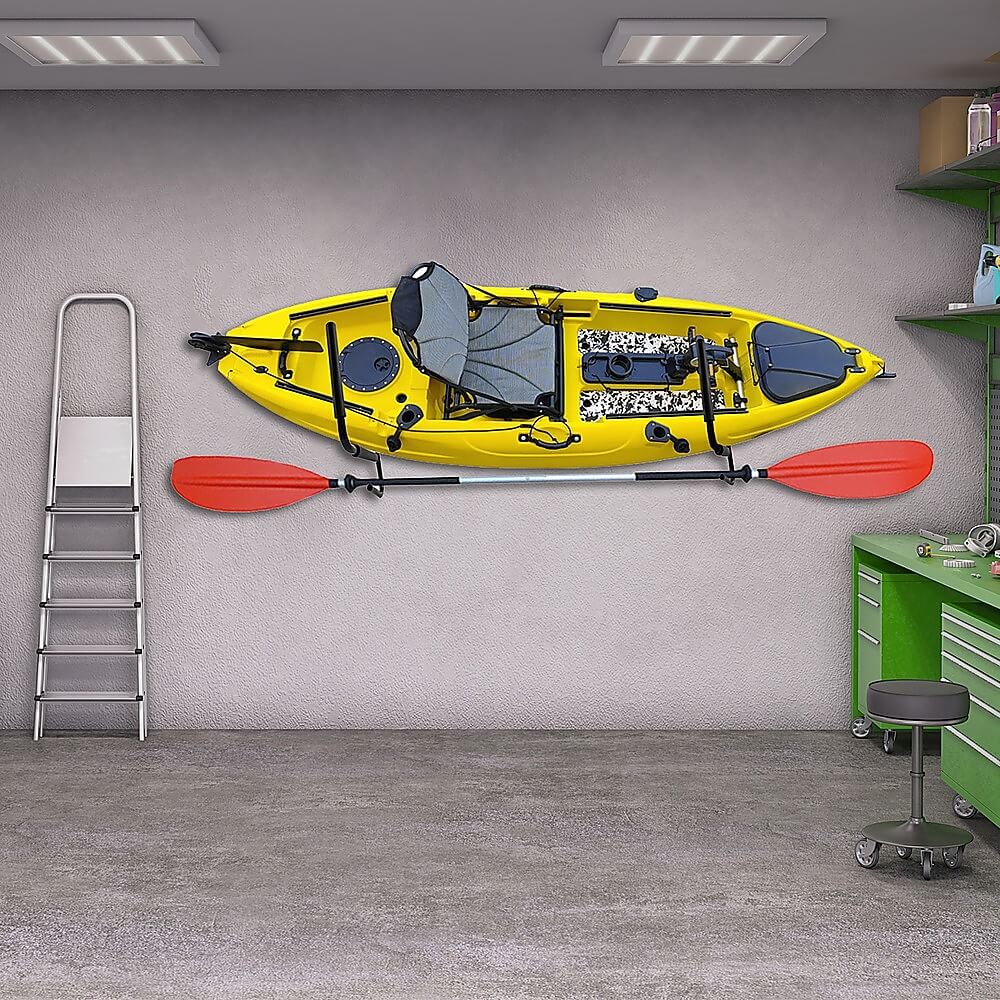
Specialty storage solutions may be required for individuals with particular storage needs or space constraints. These can include sophisticated lifting mechanisms or specially constructed storage units to match specific requirements and areas.
Personalized Storage Units
It is possible to create bespoke storage units that precisely match the size of your kayak and the available area. These boxes frequently have extra features like climate control to maintain ideal storage conditions or locking systems for increased security.
How to Put Custom Storage Units Into Practice:
Assess Your Space: Determine the exact measurements of the space where the custom unit will be installed.
Create the Unit: With the help of an expert, create a storage unit with shelves, hooks, and climate control choices that suit your unique requirements.
Set Up the Device: Have it adequately installed to guarantee that the item is stable and secure.
Fill the kayak: As you place it inside, ensure it is securely fastened and supported.
Superior Hoisting Mechanisms to hang a kayak in garage
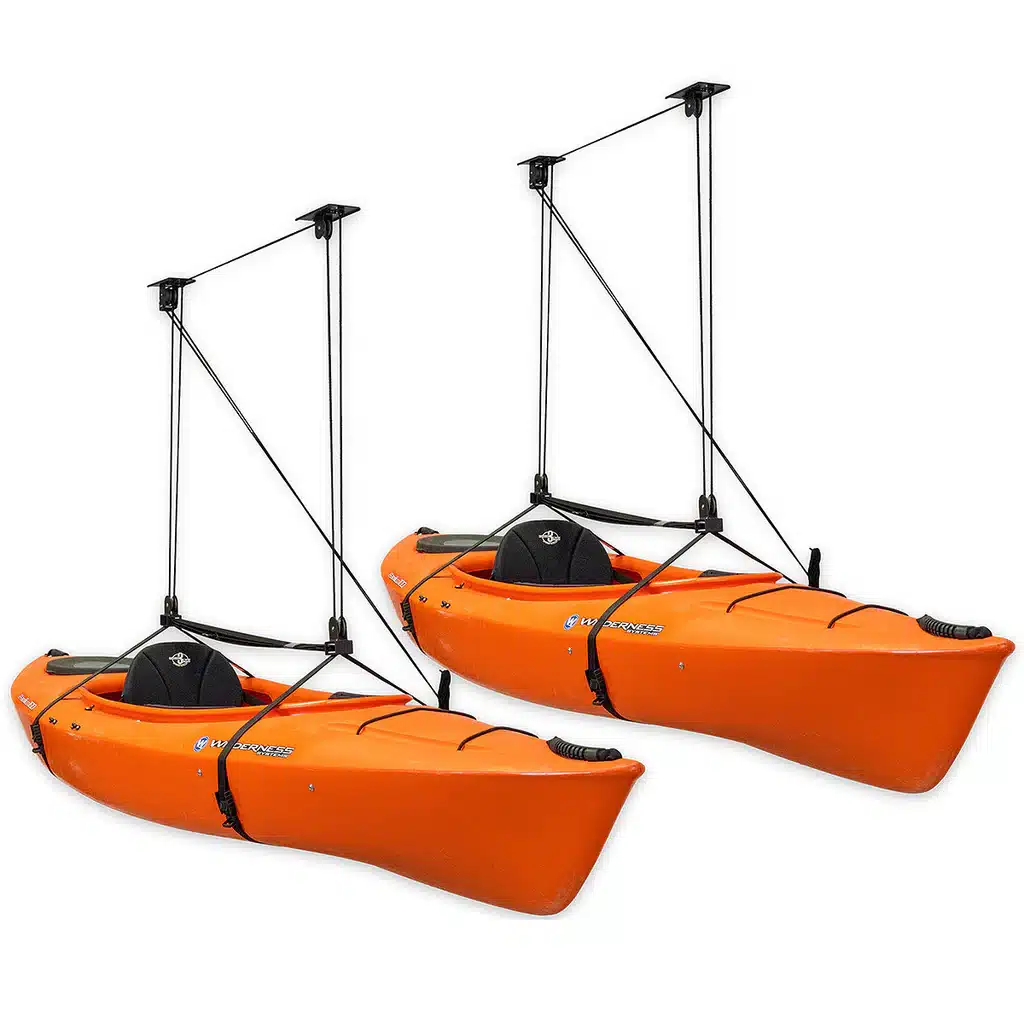
More sophisticated hoisting systems can offer an automated kayak storage solution. These systems make raising and lowering your kayak with little effort because they frequently come with electric motors and remote controls.
Installing Advanced Hoisting Systems in Steps:
Choose the System: When selecting an advanced hoisting system, consider features like weight capacity and user-friendliness.
Set up the system: Have it professionally installed to ensure it is firmly fastened to the ceiling joists.
Evaluate the Mechanism: To ensure the hoisting mechanism operates smoothly and safely, test it.
Put the kayak away: Lift it to the ceiling using the hoist, then secure it using the system’s locking mechanism.
Conclusion:
You can prolong the life of your kayak and keep it in good shape by storing it properly, even when hang in the garage. Every option, including wall mounts, ceiling hoists, and storage racks, offers advantages and installation issues. Your kayak will be better protected if you follow certain precautions for long-term storage, such as cleaning, covering, and creating an appropriate climate. If outdoor storage is required, protecting against weather damage can be achieved by purchasing a sturdy cover and utilizing an elevated platform or rack. For those with particular requirements, specialty storage options like customized cabinets and sophisticated hoisting systems provide more choices.
Adhere to these tips to keep your kayak in top shape and ready for your next trip. Proper storage not only safeguards your investment but also improves your overall kayaking experience. A few hours of work and careful attention to detail can pay off in many years of enjoyable paddling.
FAQs
Can I store my kayak vertically for long periods?
Yes, but ensure it’s supported properly to prevent warping. However, Use a padded rack or straps to distribute weight evenly.
What are the recommended storage methods for kayaks in a garage?
Recommended garage storage methods for kayaks include:
Wall Mounts: Use padded wall brackets to hang the kayak horizontally.
Suspended Straps: Hang the kayak from the ceiling using wide straps.
Freestanding Racks: Place the kayak on a padded, freestanding rack.
Vertical Storage: Store vertically with proper support to prevent warping.
Is it safe to hang my kayak solely by its handles?
Hanging a kayak solely by its handles may stress them and compromise their integrity. However, It’s safer to support the kayak’s weight evenly.
Are there any risks associated with storing a kayak vertically?
Storing a kayak vertically can risk warping or deformation if not properly supported. Ensure even weight distribution to prevent damage.
What factors should I consider when choosing a storage solution for my kayak?
Consider kayak weight, available space, ease of access, protection from elements, and prevention of warping or deformation.
